
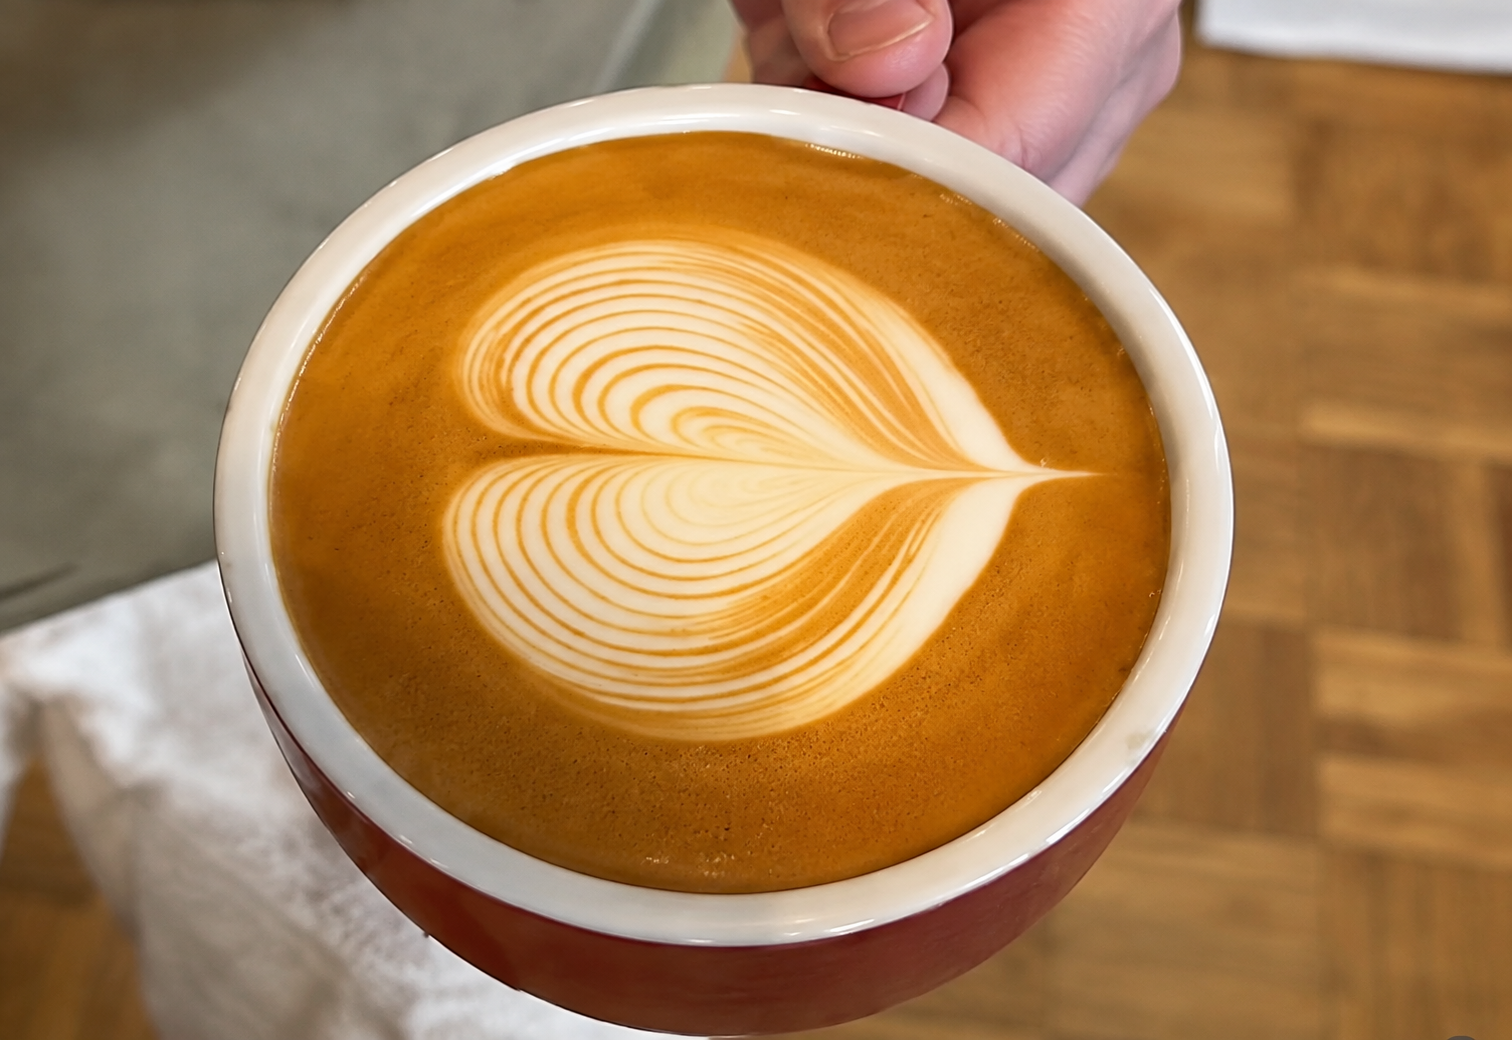
Latte art can look complicated for beginners, but every design begins with the same two skills: creating silky milk and controlling your pour. Once those feel comfortable, patterns such as the heart, tulip, and rosetta become much easier to understand.
This latte art tutorial walks you through the complete process without overcomplicating it.
What you need
To practise latte art, you will need:
- An espresso machine with a steam wand
- A stainless-steel milk pitcher
- A wide coffee cup
- Fresh espresso
- Cold milk
Whole milk is usually easiest for beginners because it creates stable, flexible foam. Barista-style oat and other plant-based milks can also work, although each brand steams differently.
Start with good espresso
Latte art needs a smooth surface to sit on. Prepare your espresso immediately before steaming or pouring so the crema remains flexible.
Give the cup a gentle swirl to combine the crema and espresso. This creates an even canvas and prevents the design from breaking into disconnected patches.
Steam milk with a glossy texture
Good latte-art milk should resemble wet paint: shiny, smooth and free from large bubbles. Thick, spoonable foam will sit on top of the drink instead of flowing into a pattern.
Fill your pitcher to just below the bottom of the spout. Purge the steam wand, then place its tip slightly below the milk’s surface.
Turn on the steam and listen for a soft paper-tearing sound. This introduces small amounts of air. After the milk expands slightly, lower the wand beneath the surface and position it so the milk begins to spin.
Continue heating until the pitcher becomes hot but still comfortable enough to touch briefly—usually around 55–65°C. Overheated milk loses sweetness and becomes harder to pour.
Tap the pitcher lightly to remove any bubbles, then swirl it until the milk and foam become one glossy texture. Pour promptly because steamed milk begins to separate as it sits.
Learn the two-part pour
Every basic latte-art pattern uses two pouring heights.
Begin with the pitcher several centimetres above the cup. Pour a thin stream into the centre while tilting the cup toward the pitcher. This mixes the milk beneath the crema without creating a white mark.
When the cup is about half full, bring the spout close to the surface and increase the flow. The white foam should now appear on top.
Think of it this way:
- High and slow mixes the milk.
- Low and faster draws the design.
How to make layered-heart latte art
Heart latte art is the best first pattern because it teaches placement and flow control.
Start high with a thin stream. When the cup is half full, lower the pitcher close to the surface and pour into the centre.
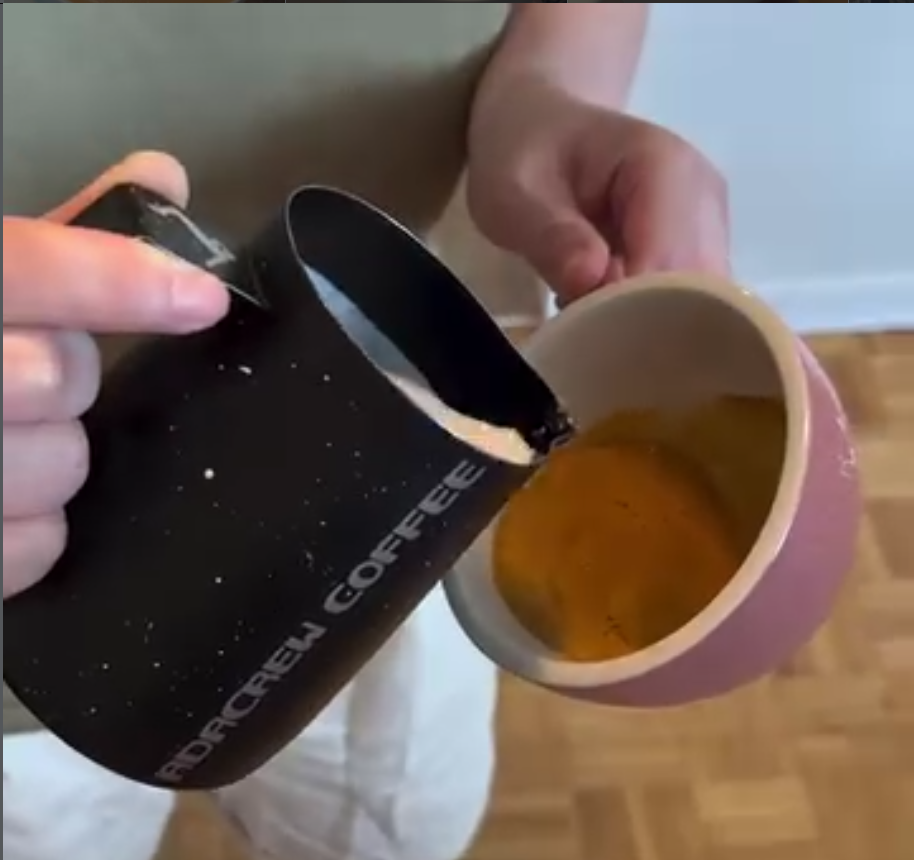
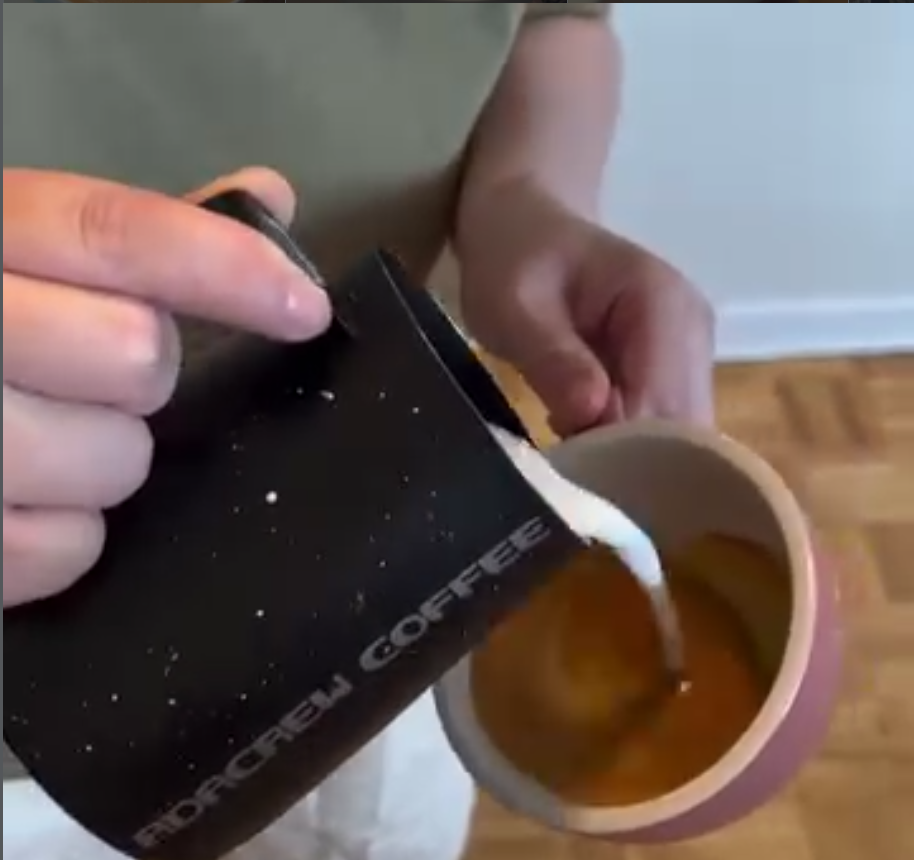
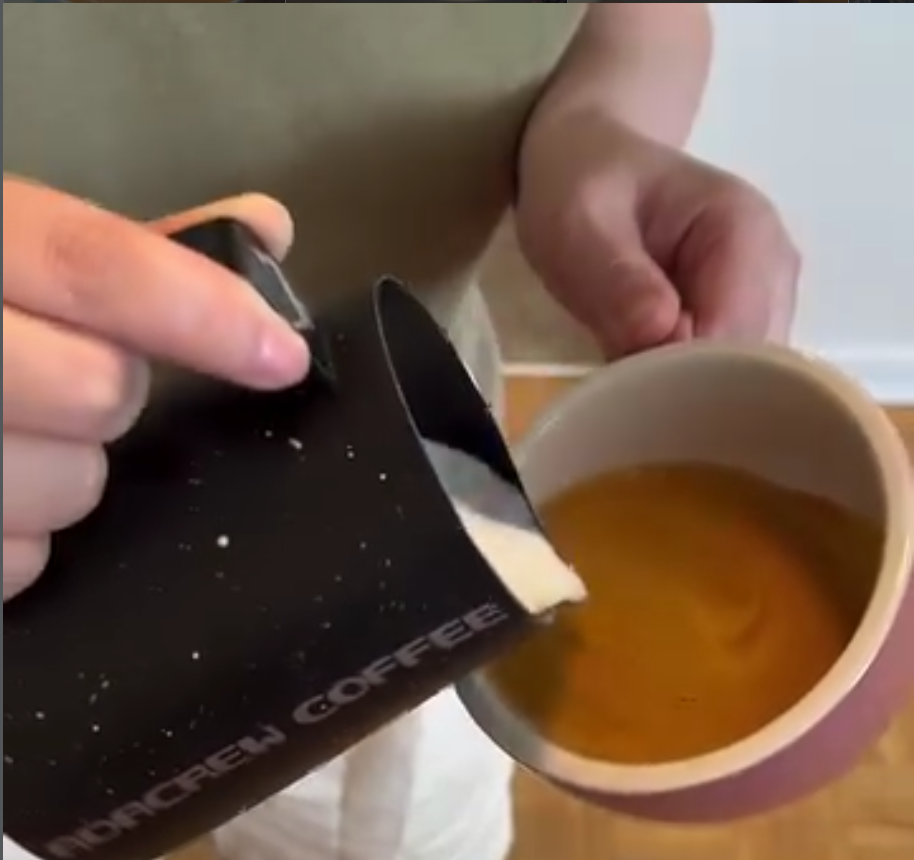
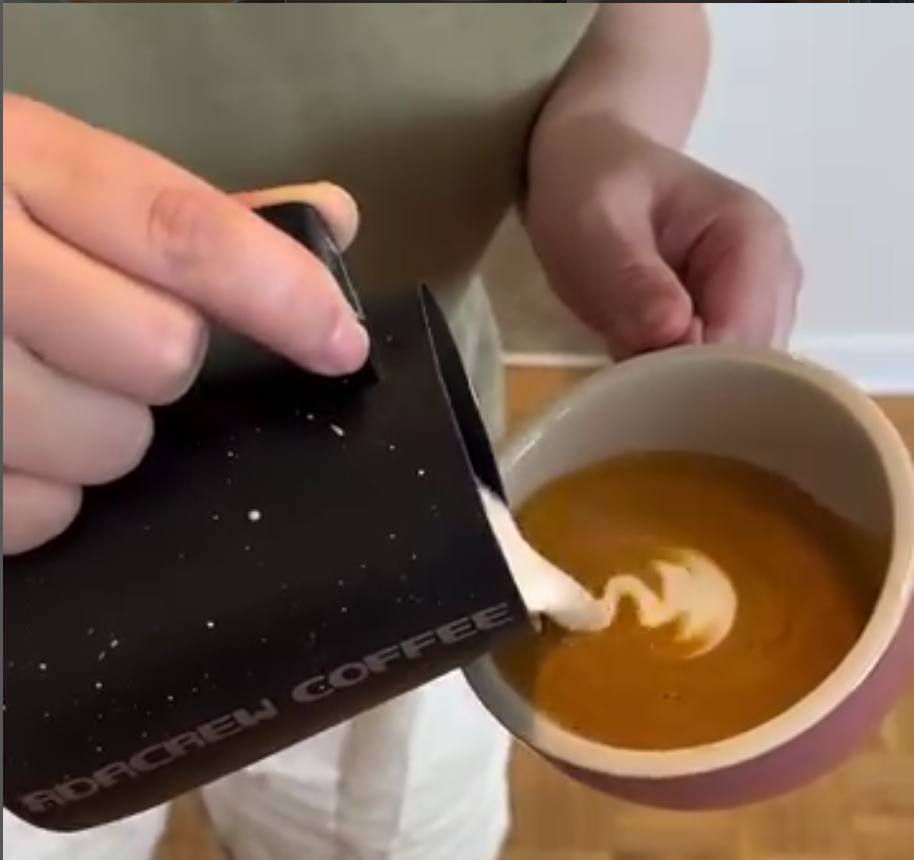
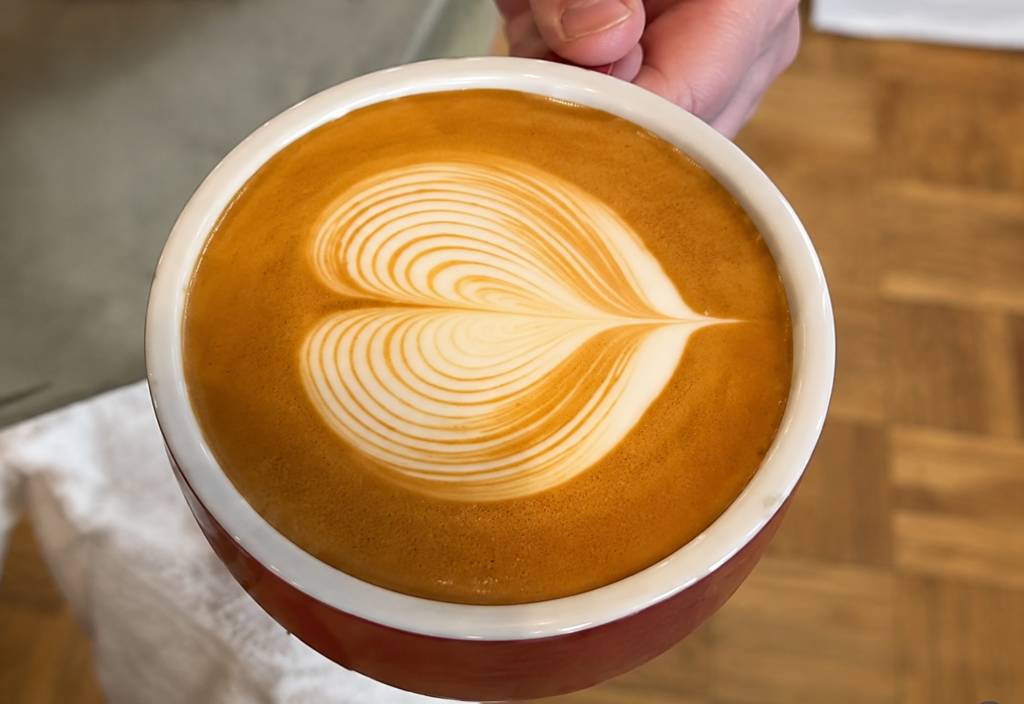
Keep the pitcher steady until the cup is nearly full. Then lift the pitcher slightly and pour a thin line through the circle to form the heart’s point.
How to pour tulip latte art
A tulip is built by stacking several small shapes.
After mixing the base, lower the pitcher and pour a small white circle. Pause the flow, move the pitcher slightly backward, and pour another circle into the first.
Repeat this movement two or three times. Finish by lifting the pitcher and drawing a thin line through all the layers.
Begin with a simple two-layer tulip. Adding more layers becomes easier once you can control the size and placement of each pour.
How to pour rosetta latte art
Rosetta latte art adds a side-to-side movement.
Lower the pitcher near the surface and begin pouring toward the back of the cup. Gently wiggle the pitcher from side to side while moving it slowly backward.
The milk will form a series of leaves. When the cup is nearly full, lift the pitcher and draw a thin line through the pattern to create the stem.
Keep the movement relaxed and small. Large, aggressive movements usually produce uneven branches.
Common latte-art problems
If the milk disappears beneath the crema, the pitcher is probably too high or the milk is too thin.
If a large white blob appears, the milk may be too foamy or the pour too slow.
If the design is crooked, check that the pitcher and cup are aligned. Pour toward the centre rather than following the direction of an uneven pattern.
Large bubbles mean too much air entered the milk. Keep the steam-wand tip closer to the surface and introduce air more gently.
Practise the texture first
The fastest way to improve is to focus on one skill at a time. Begin by producing glossy milk consistently. Then practise heart latte art before moving to tulips and rosettas.
Your first designs do not need to be perfect. Watch how the milk moves, make one small adjustment, and try again. Latte art becomes much less mysterious once texture and pouring height begin working together.